Monday, December 26, 2005

Christmas Favourites 2005

Favourite gifts

An orange bag filled with strange and wonderful goodies my sister sent me. It is going to be my "knitting bag".


Sock yarn!!!!


Bedlinen in an outrageous, lovely, lobster colour.


Favourite music

"Set yourself on fire" from the "Stars". They are based in Montreal and make good music, uhm, that is, we like it!

"...we drove in silence across Pont Champlain..."


Favourite movie

I haven't watched it this year (yet) but ever since it came out "Love actually" is my favourite Christmas movie. It replaced my childhood favourite Three wishes for Cinderella" which I still like to watch once in a while. (Yeah, I know, I am such a girl.)

The "Lord of the Rings" trilogy will be forever lodged in my mind with christmassy feelings, it's a close runner up.


Favourite food

Mary's Santa cookies. They not only taste good but look fantastic. I have no picture because I had only two and they were gobbled up too quickly.


Favourite moment

Yesterday when we played "Cranium" and I couldn't hum "Take on me" by A-HA for the life of me. I just had to laugh so hard, it was impossible to do it!! Well, the time Cerrie guessed "babysitting" correctly when I had just drawn something resembling a face - that's a close second!
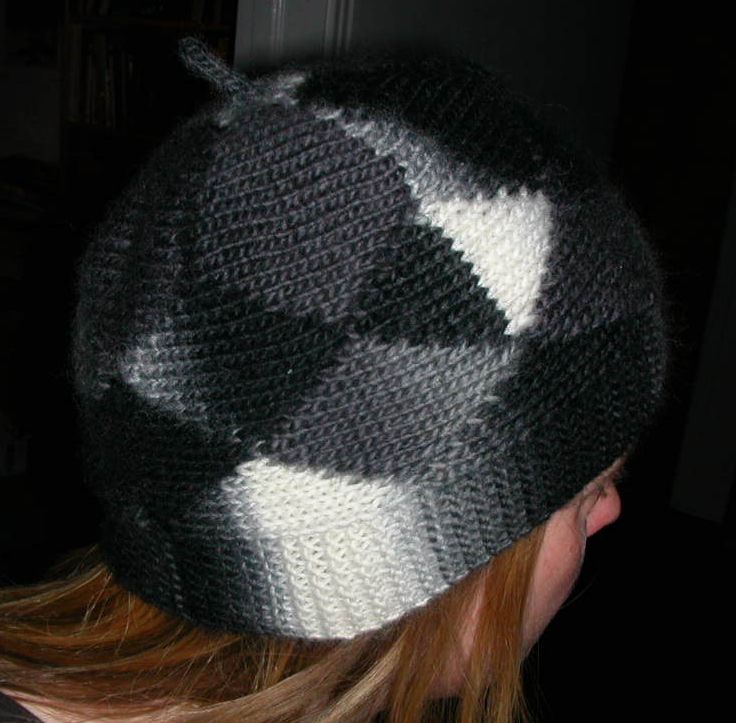
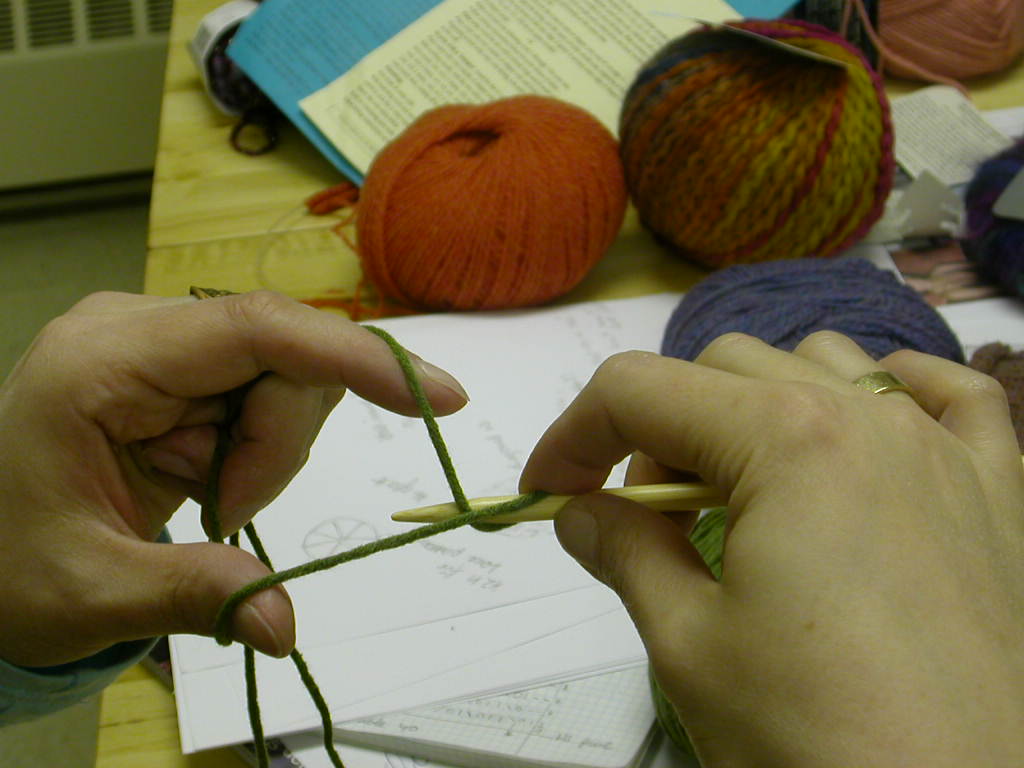
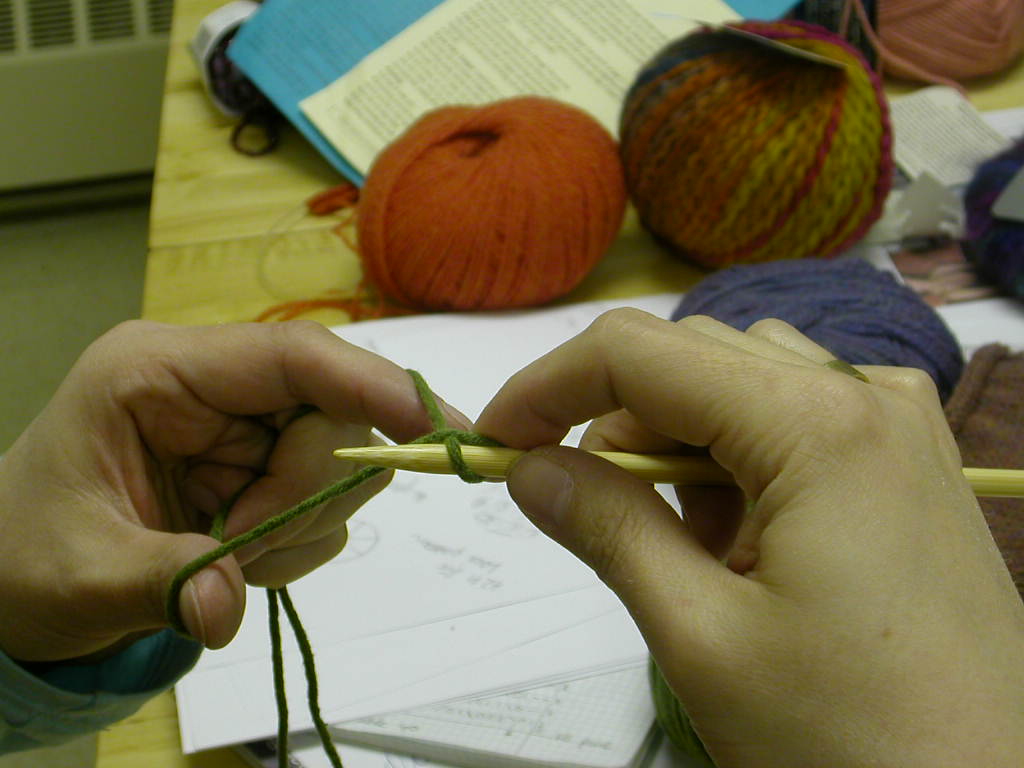
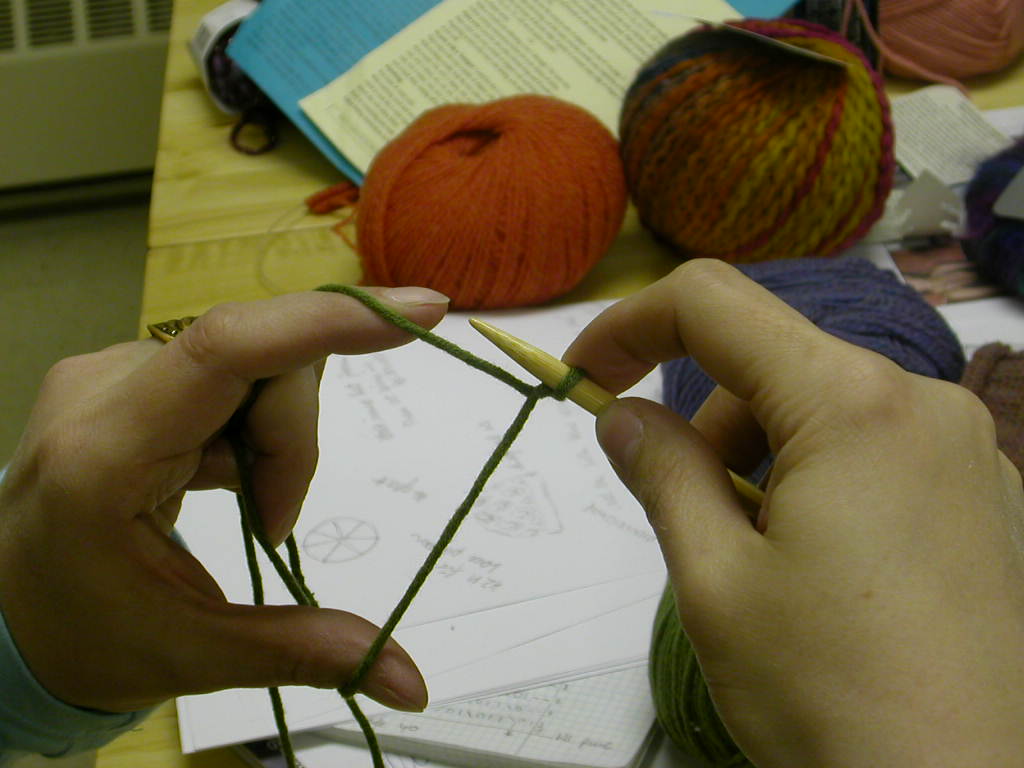
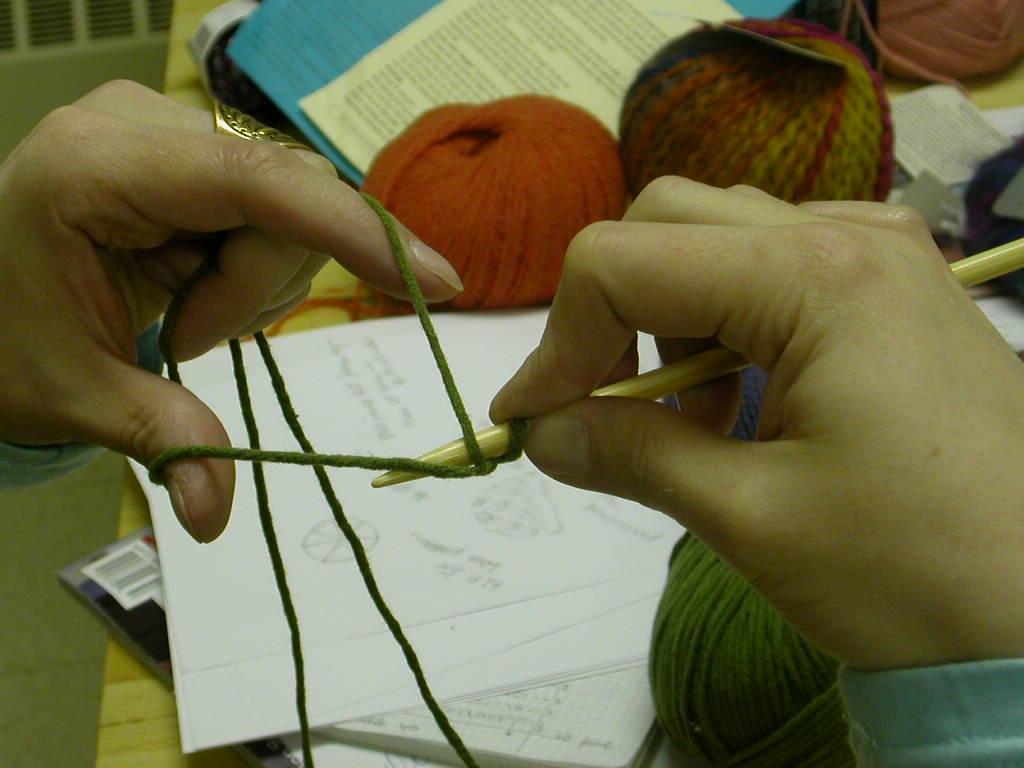
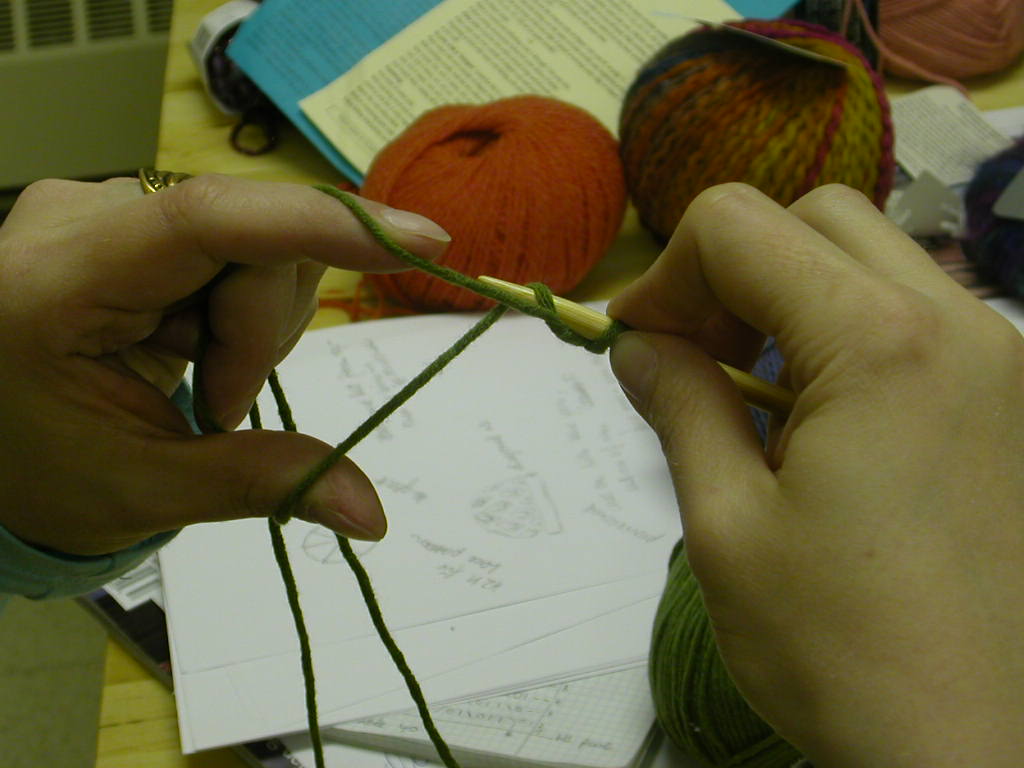
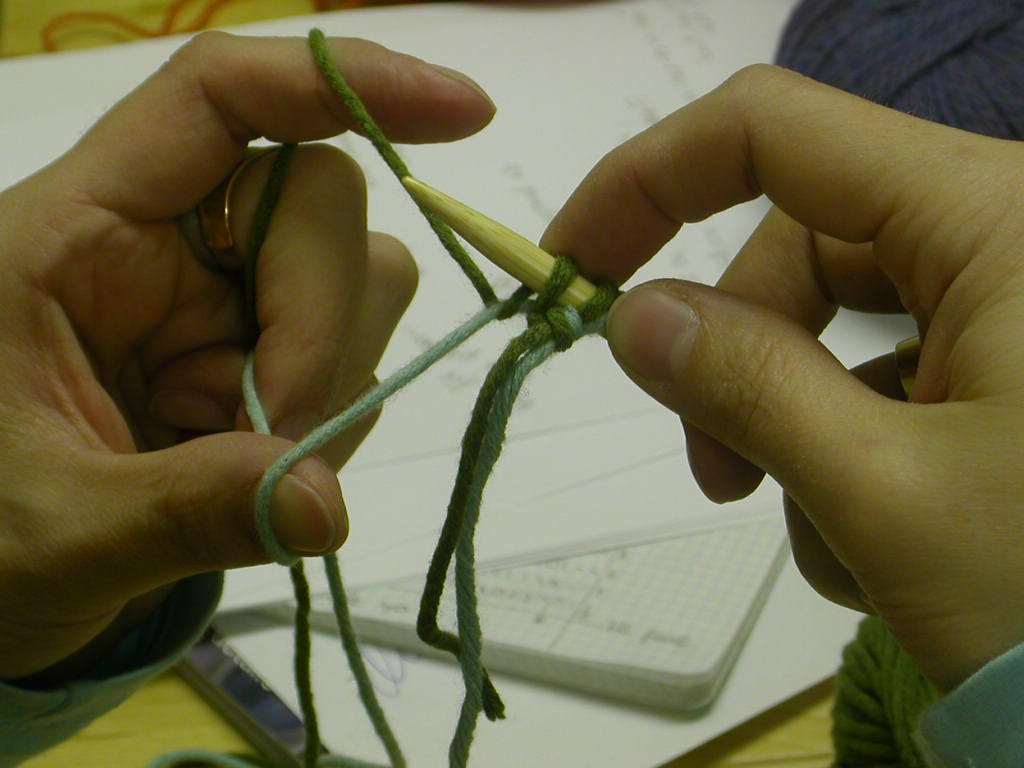
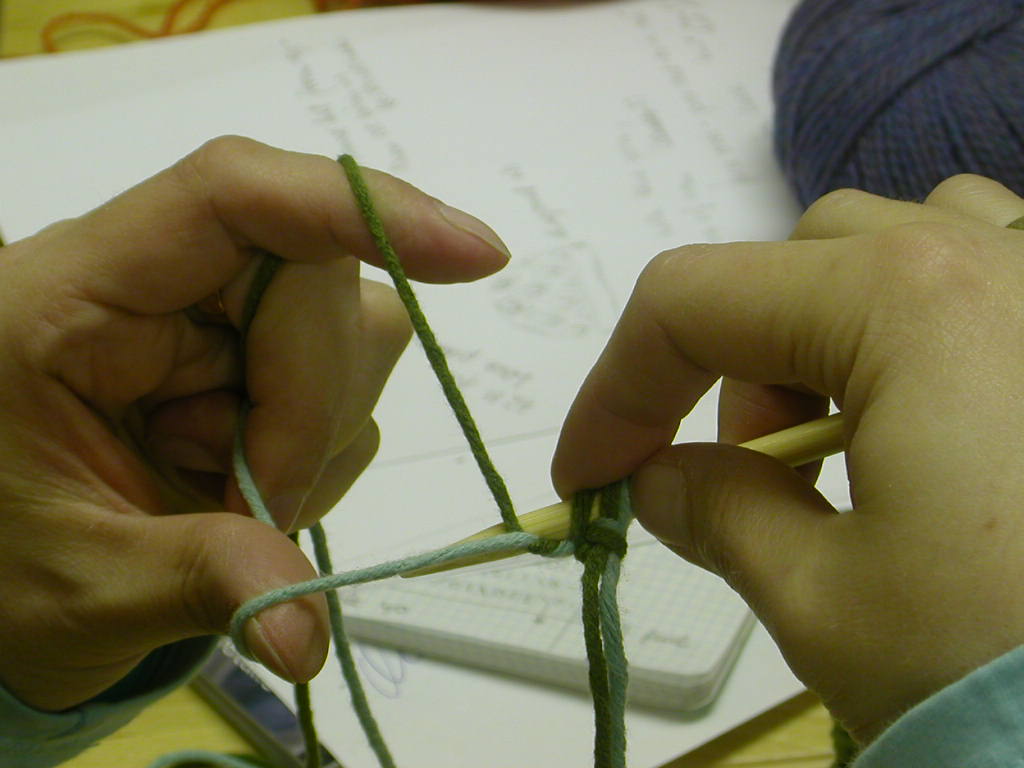
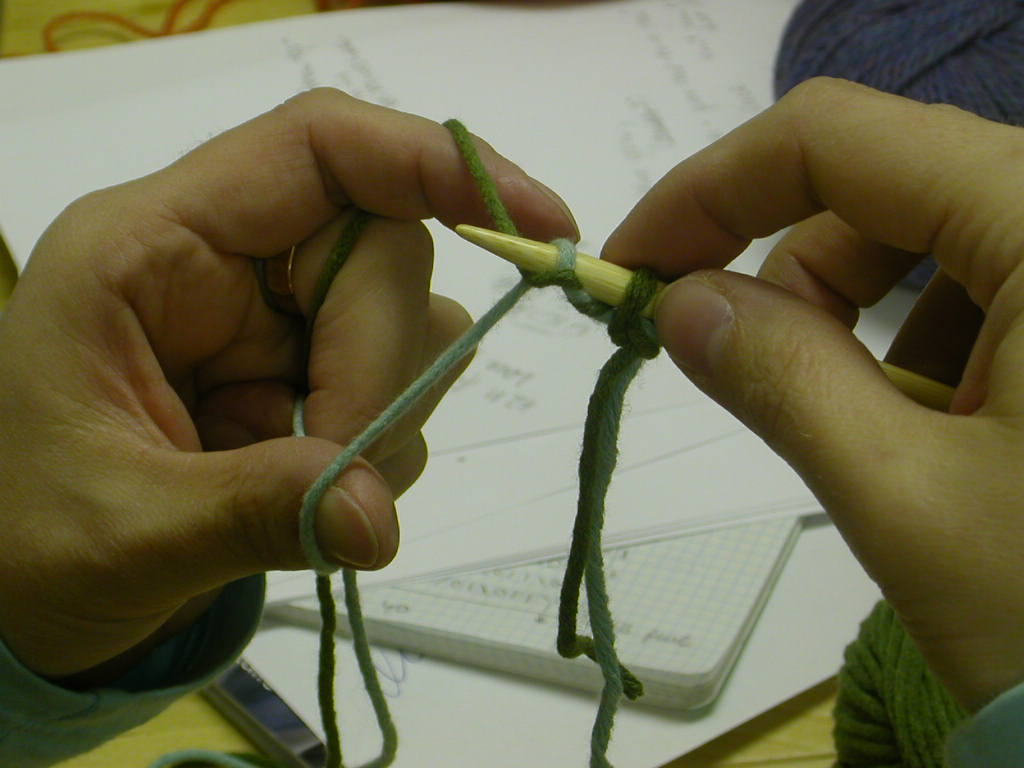
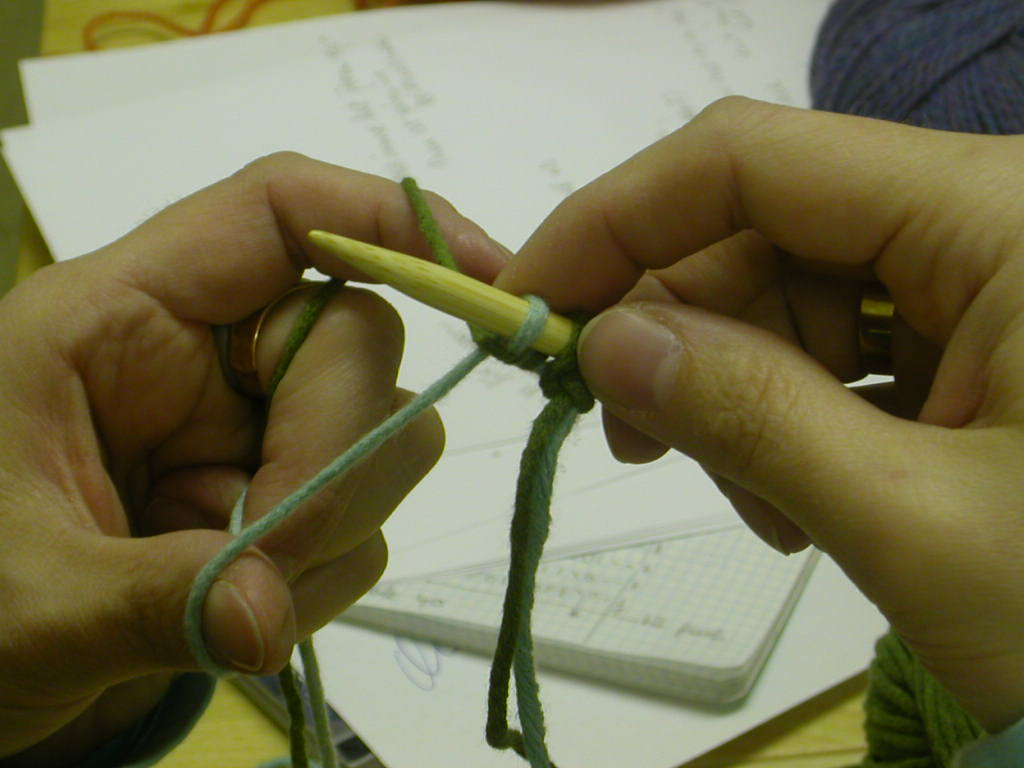
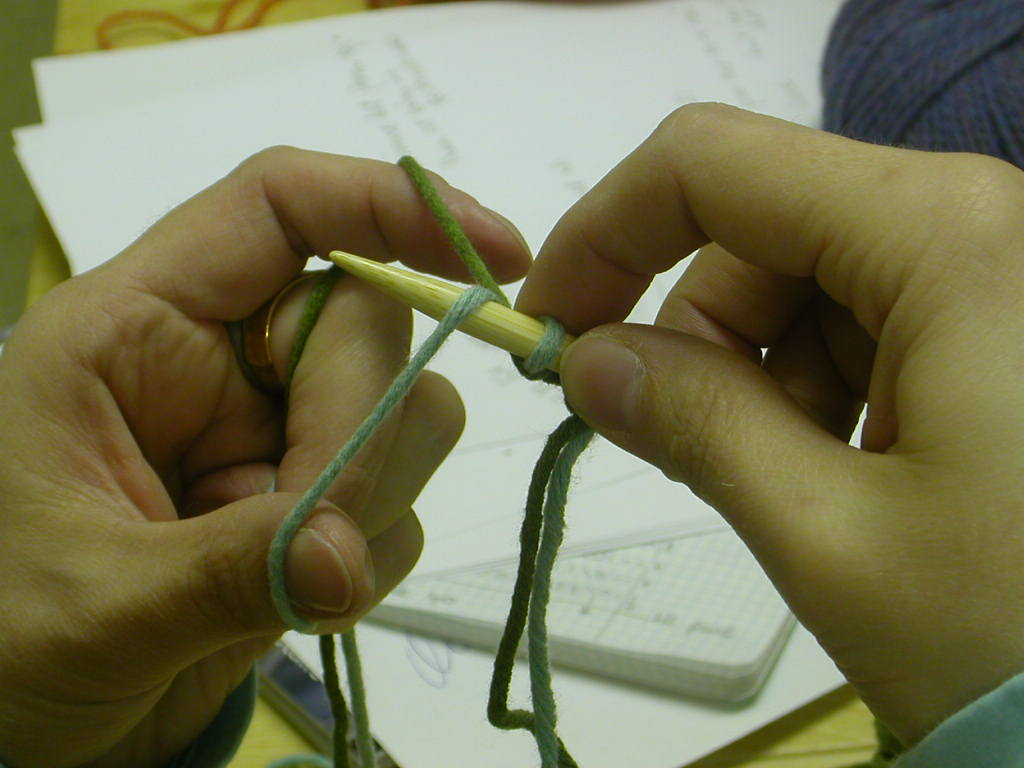
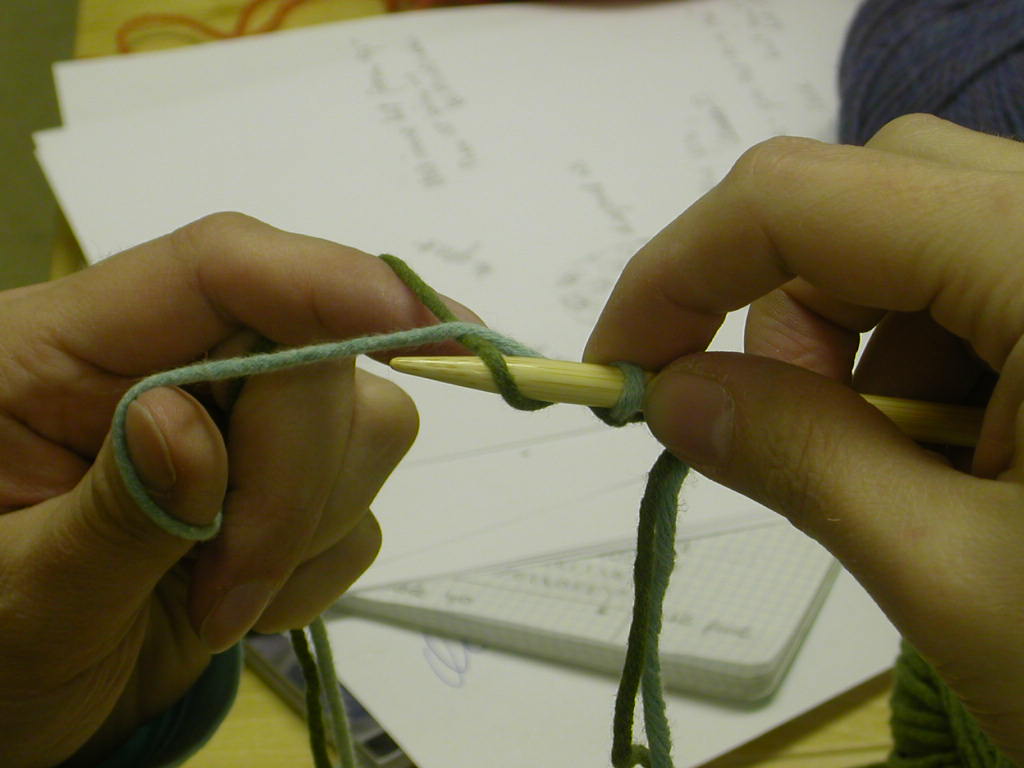
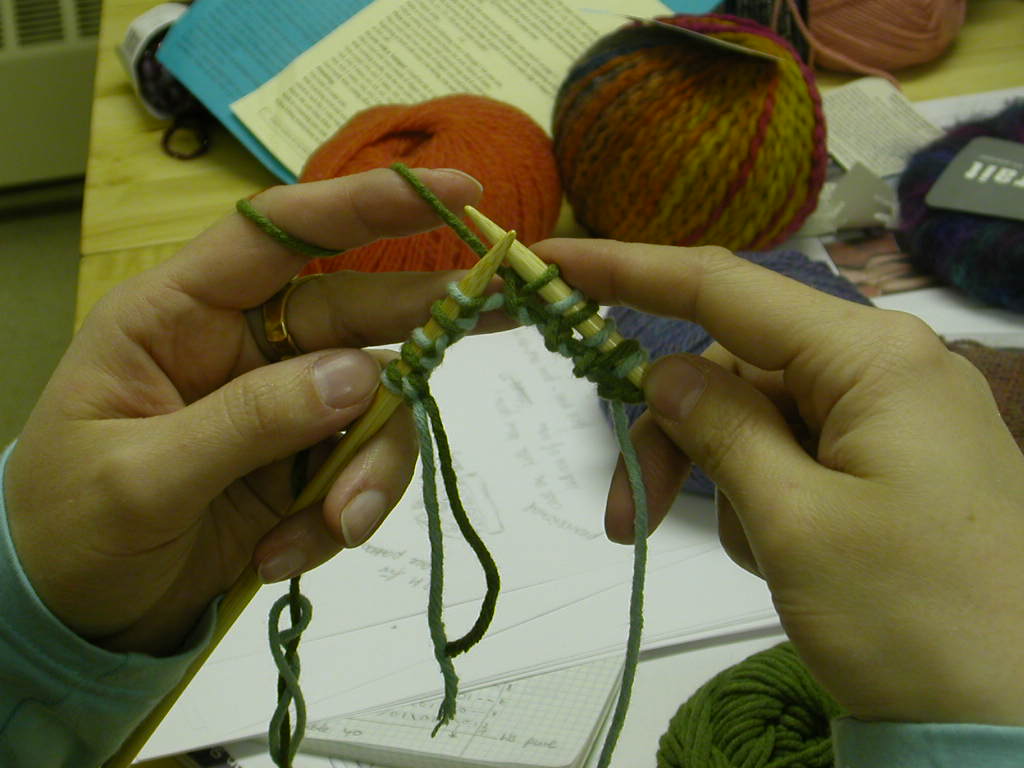

Favourite knitting

Ahem, yes, that would be this:


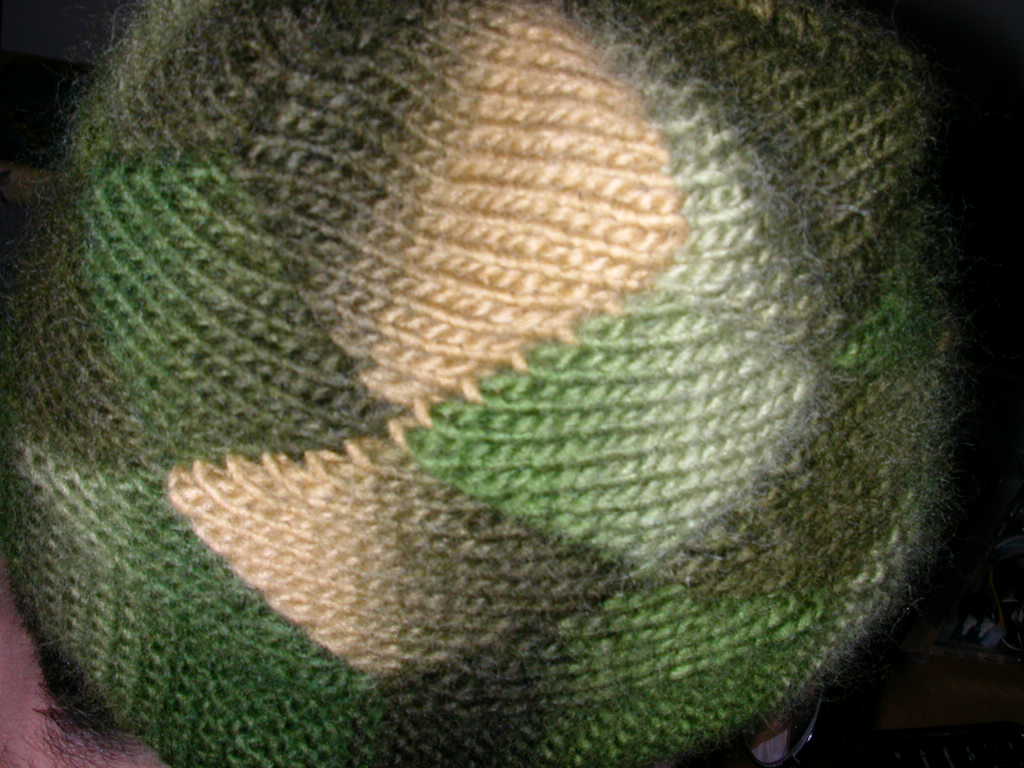
Made on Saturday, it was a gift for Cerrie so it had to be finished on time, no?

And this:


That would be mine. Started yesterday and just finished before dinner. The black one is actually for Rolf.

Talking about an OCD knitter, having to do everything thrice in three days time...


Dear knitters who left a comment about the Embossed Leaves socks: Thank you! I would LOOOOVE to see them, send a picture if you can! (mona.strickt at gmail dot com)

Saturday, December 24, 2005

Fröhliche Weihnachten!!

Luckily we have a lot of hat weather here in Montreal. Luckily I got the yarn I ordered last night. It was delivered by Canada Post at exactly 10 to 8 p.m. (What's up with that? I mean, I am glad that I got it, but eight o'clock at night?) Luckily I have a week off and can so catch up on the knitting I didn't do because I knit this:


Forgive me, V., for I have sinned. I made the short-row hat instead of finishing your stuff. But, let me add, and like it or not, it's pure genius! And lots of fun to knit. I'll catch up on the other stuff later, I promise.

I started right away and finished today around 1 p.m. It took me about 8 hours. There was a break in the yarn (damn, I wish there wouldn't have been) that's why I have a half black and half white diamond, and I won't tell you that I am an idiot because I didn't get the whole message of the provisional cast-on, apart from that I am really pleased with the outcome!! Really, really, really. And, on top of all of it, this yarn ("Faith" from AmiAmi) is just soo soft and wonderful to knit with.


I hope you all have a wonderful Christmas, Hanukka, or whatever holiday you fancy!

Monday, December 19, 2005

OOOOOOkay....

....seems someone has a problem with the instructions for my socks.

While it's my prerogative to design and choose as I will and, believe you me, I have my reasons why I use certain design elements, it's up to everyone to skip, change or drop them altogether. It's not like I do re-invent the wheel, eh?

But, I want to play nice and since it doesn't do to ignore the facts, here is what I have to say :


1. What’s up with the cast on?
Yes a 1 x 1 rib cast on is tubular and cool but you have to knit two rows before joining in the round so you end up with 2 un-joined rows. Granted, this isn’t really a huge deal since you can just bring the rows together when you weave in the end but there are better ways to do this...like using the nifty tubular cast on Megan showed me which involves crochet, waste yarn, large needles and knitting in the round. Sure it’s a bit of work but Megan’s tubular cast on is seriously cool and stretchy. However, a 1 x 1 rib cast on is just easier to explain hence it takes up less space on the page, which is maybe why it’s used here despite the two un-joined rows.


I like this particular cast-on used on these socks a lot, it's stretchy, elegant and really not that hard to do. It's true, the first two rows you slip the purl stitches, but since you slip them once on each side it is actually only one row that gets knit and I don't see the problem with fixing that little gap when weaving in the end. Honestly, I find the waste yarn and crochethook method too time consuming but would never tell anyone NOT to use it if they are so inclined. It's just a cast-on and not finding a solution for world poverty, after all.


2. The deal with the heel:
Has anyone ever knit a heel flap like this?
Row 1 – Knit
Row 2 – Knit the first three stitches, purl to last three, Knit the last three
Stitches.
Where is the slipping of the first stitch to form the chain edge thingy along the side of the sock? And this creates a monster wide heel. So what’s up? Has anyone else out there knit a heel like this before – and why?

And get this, when you are done turning the heel, you CUT the yarn. That’s right, you heard me, you CUT the yarn before picking up your gusset stitches. Why you ask? I don’t know, ask Ms. Mona Schmidt, the designer responsible for this pattern. My guess – the heel ends on a purl row so normally you would knit across the heel stitches and pick up your gusset stitches. However, this pattern has you cut the yarn and reattach it instead of just knitting across the 18 heel stitches. Ummm, does this make sense to anyone?


Just because one has not knit a heel flap like this before doesn't mean that it is wrong. I like the garter ridges on the outside of the flap (instead of slipped stitches), one doesn't need the chain edge to pick up the stitches for the gusset. What it certainly doesn't do is creating a monster wide heel - and I haven't had any complaints so far. While I am happy that my pattern has been published, personally I do not care how you turn the heel, go shortrowing for all I care.

Regarding cutting the yarn after turning the heel: So, why didn't you ask me? I don't bite, as anyone in my knitting group who has asked me things can confirm.

Once again, this is the method I prefer, no one has to do it that way. I like to have the beginning of my round on the inside of the foot (where it was before I turned the heel), that's why I cut the yarn and start picking up the stitches on the right side of the gusset. Of course the heel ends with a purl row - how else would it be? Just because I do it that way doesn't mean you all have to cut the yarn *gasp*, too, instead of knitting across and starting picking up the stitches on the left side of the gusset. Go ahead, knit it your way, they are going to be your socks, no?


3. Fussing with the gusset:
So you cut the yarn, and than rejoin it and than pick up the gusset stitches like normal and decrease them like normal. Okay, I actually have no issues with this section of the pattern, I just wanted to try and rhyme a word with gusset.


How else but normal would I knit a gusset? I just start at the other side, s'all!


4. I can’t say anything about the toe yet because I haven’t reached there yet but it looks like one of those nifty star decrease toes instead of the regular toe.

I really do hope you like the toe decreases - I just love how they give the image of a completed leaf when done.

This proves best that people like to do it their way - I do, you do, we all have our preferences how to do things. Remember though: It's just KNITTING!

While we're at it: anyone else out there who wants to ask me why, how, when? Now would be a good time!

Sunday, December 18, 2005

Snowed out

On Friday we happy people in Montreal got a 41 cm dump of snow all in one day. This is my fourth winter here, but so far this is the worst experience with the white stuff. I was almost run over walking to work because the side walks weren't cleared at that time (a lot of them aren't even now...) and I walked on the street since that was the only place where one didn't have to master 41 cm of snow sneaking up my jeans and down my boots while walking and one very nasty driver felt the necessity of honking, rushing by and, as I said, almost running me over in the process.

Yesterday Rolf and I spent an hour digging out our car. We went grocery shopping and all I could think about was "I hope no one parks in our spot!". There are not many possible parking spots in our street at this time and you don't get to dig another one when yours is taken since there is NOWHERE to put the snow. It also doesn't look like it it going to melt soon, so let's hope the nice city workers come by any day now and take it away....(ha, who am I kidding!).

Saturday, December 10, 2005

Two-strand tubular cast-on Part 2

I hope you have been practising 'cause here goes the most important part of the cast-on for the socks: the part where you use one yarn and do almost exactly the same as before, apart from....see for yourself!


You have to leave a tail long enough for half of the to be cast on stitches - then start out the same way as with two yarns. Insert the tip of the needle underneath the yarn (instead of having a slip-knot on the needle), and hold on tight.


From underneath the yarn bring the tip of the needle behind the yarn coming from your forefinger and pull it through underneath the other strand of yarn.


This forms the first stitch, it's more like a loop with a twist, but will end up as a purl stitch. You'll see.


There you have your first stitch. From here everything should seem familiar.


Bring the tip of the needle behind both strands.


Pull the strand from the front underneath the one in the back, pull up, tighten, there, the second stitch!


Once you have arrived here, follow the steps of the first tutorial, starting at picture No. 2.

When you have cast-on the required 64 stitches, knit the first two rows as follows: knit the first st into backloop, slip the second st with yarn in front purlwise, do so with all sts (the last one will be a slip stitch). Turn. Repeat on second row.

Starting with the third row you will knit and purl. When knitting the socks you distribute the stitches onto your dpns when the first two rows after the cast-on are done. Close to round, knit the first stitch into backloop, purl the next, etc. The little gap of the first two rows can be easily closed when weaving the end in.

Of course the stitches don't have to be knit into the backloop, I chose to do so to give the rib more definition.


When done correctly the two-strand tubular cast-on provides a smooth, very stretchy edge, reminiscent of the ones you see on store bought socks and sweaters.

If you choose to try it and find this was helpful, please, let me know! Thanks.

Wednesday, December 07, 2005

Two-strand tubular cast-on Part 1

As promised here goes the tutorial for the two-strand tubular cast-on I used on the "Embossed leaves socks" in the latest Interweave Knits.

To make sure you can see what I am doing I used two strands of yarn in a different colour. Once you understand how it works, you are going to use only one colour, from the same ball. No worries, there will be pictures, too!

First thing you do, make a slip knot with both strands of yarn and slip it onto a needle, like this:


1 It would be good if you practised to hold the yarn as I do, but that shouldn't be a problem because it's the same way as if you do a long-tail cast-on.

The following pictues are pretty self explanatory, but I will try and add the one or other note anyhow.

2

Bring the needle to the front and insert tip underneath the yarn .

3

Then bring the tip behind the second strand of yarn (green).

4

Pull the green yarn underneath the blue to the front.

5

Tighten, so that the green yarn forms a stitch and the blue remains straight. Yay, one stitch made!

6

Now bring the tip of the needle from the top behind the green yarn, make sure you keep tension on the first stitch on the needle.

7

From behind bring the tip in front and start pulling it underneath the green yarn to the back.

8

Tighten. There you have a lovely second stitch.

9


After this it starts all over again:


This is how it should look like after you cast on a number of stitches (click to enlarge).


After you are done casting on the number of stitches you need, you have to do the following: Twist both yarn strands in front of the first stitch (which should be a knit stitch, more on that next time) so the whole cast-on won't unravel and then knit into the back loop of the stitch like this: (Again, click to enlarge.)

The knit and purls stitches are fairly easy to make out, since they more or less look like they should - the knit stitch is open in front, the purl stitch is closed.


Then slip the next stitch (clearly defined as a purl stitch with the green yarn in front) with yarn in front purlwise.


Repeat till all stitches are done. (How to proceed from here will be in my next post.)


Using two different colours of yarn helps to grasp the concept of this cast-on, same with the slip knot which won't be needed for the actual two-strand cast-on in one colour that you will learn about next time!

Should there be any questions, feel free to ask. Otherwise: practise, practise...

A big thanks to Véronik who took the pictures - you know me, mine would be useless and fuzzy!

Monday, December 05, 2005

Kind of an answer to a technical question

To Witt in DC:

First of all, thanks for the compliment on my socks, I am glad you like them. Now to the technical question:

The tubular cast-on I used for the "Embossed leaves socks" is described in Montse Stanley's "Knitter's Handbook", page 78. It is called "Two-strand tubular cast-on" and is worked with two strands of the same yarn.

I know from experience that it is quite impossible to explain this method without showing it - so I won't even try. For now.

Come back in the next couple of days for a tutorial on the two-strand tubular cast-on - with pictures and the whole shebang. If this takes too long, if you are an incredibly impatient knitter and want to knit the socks right away and don't care too much about this stretchy, very useful cast-on (in my opinion, anyways) just go with the long-tail one, it works too.

Let's kick it up a notch

How? you might wonder.

Easy. With my new golden dpn's from addi. Alright, goldcoloured, but nonetheless.


Before you ask where to get them, here's the sad news: They don't make them anymore. I was very lucky to snatch a 2mm and a 3mm set and it arrived just in time for Nikolaus (December 6th).